Paving Pedestal Systems
Our paving pedestal system is a versatile and robust solution designed to support and elevate outdoor surfaces, such as terraces, decks, and rooftop gardens.
It allows for precise height adjustments, ensuring a level finish even on uneven substrates. The system is made from high-quality materials that are resistant to weathering and load-bearing, providing long-lasting stability and performance.
Easy to install and maintain, our paving pedestal system is ideal for both residential and commercial applications, offering a flexible, sustainable, and aesthetically pleasing solution for modern outdoor spaces.
Experience uniform gaps and superior performance with our expert service and personalized solutions. Let us elevate your construction endeavors to new levels of excellence.
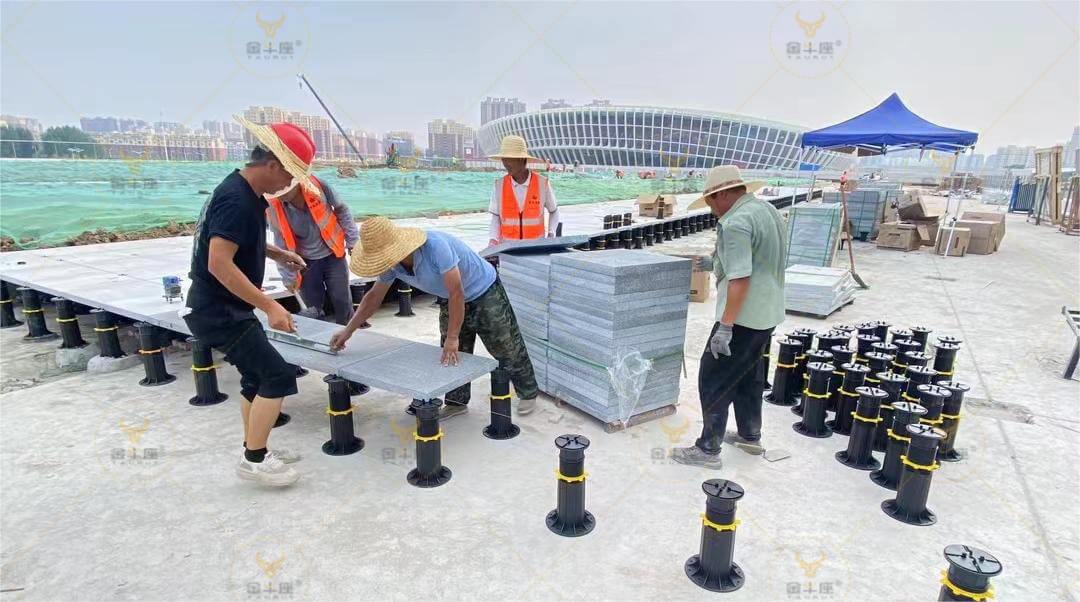
Types of Paving Pedestal
Discover our diverse range of pedestal support systems, covering a full range of heights from 5mm to 1360mm. Offering ease of use, unparalleled versatility and exceptional stability, this system meets all your raised flooring needs.
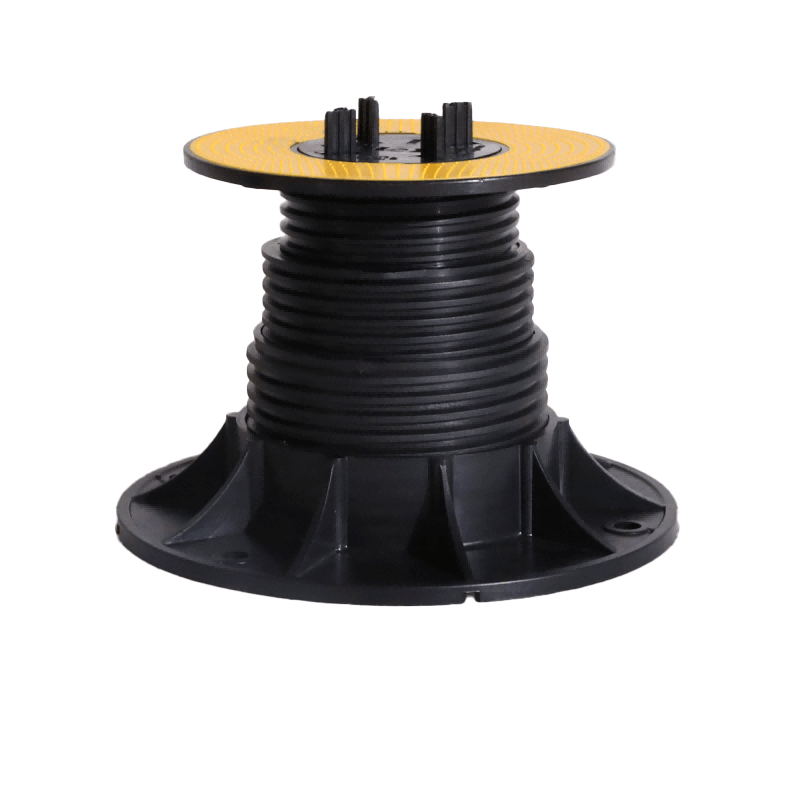
TA-M Series
- Height Range : 46-138mm
- Bearing Weight : 600~1600KG
- Base Diameter : 200mm
- Head Diameter : 150mm
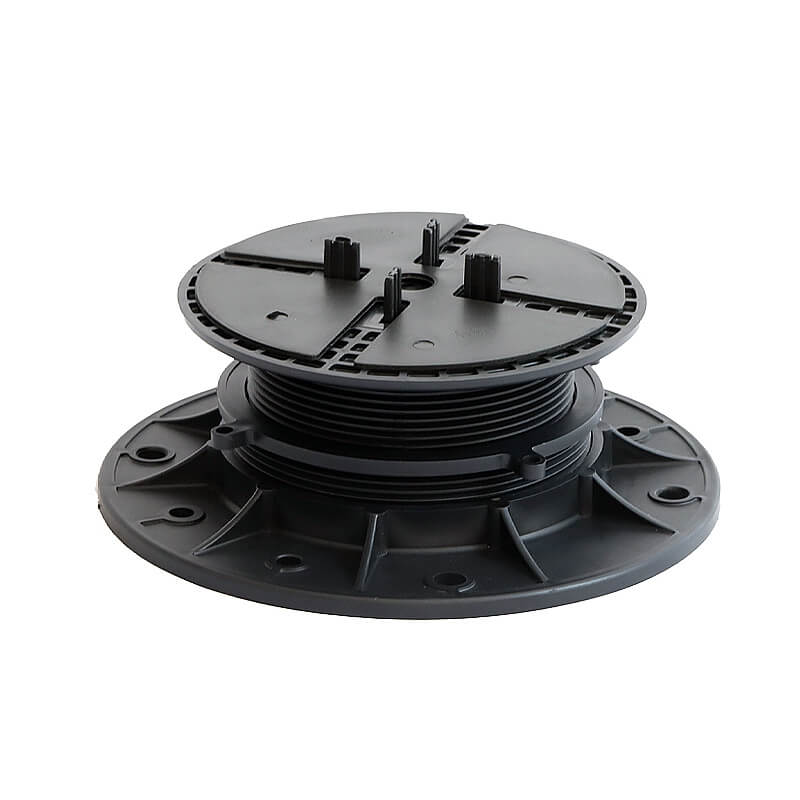
TA-U Series
- Height Range : 19-70mm
- Bearing Weight : 1100~1500KG
- Base Diameter : 200mm
- Head Diameter : 150mm
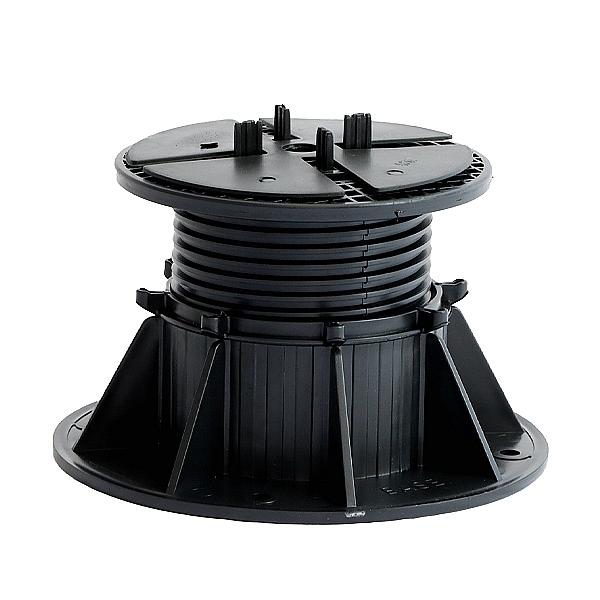
TA-R Series
- Height Range : 75-1360mm
- Bearing Weight : 1200~2500KG
- Base Diameter : 200mm
- Head Diameter : 150mm
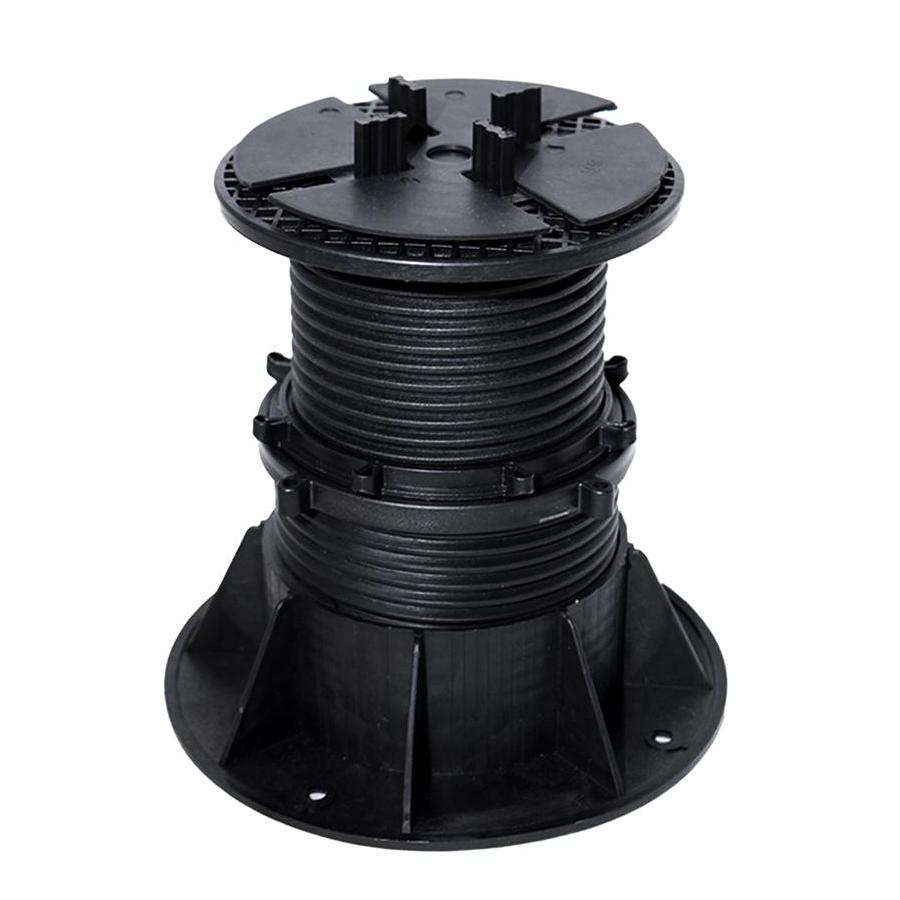
TA-NR Series
- Height Range : 90-260mm
- Bearing Weight : 1500~2000KG
- Base Diameter : 200mm
- Head Diameter : 150mm
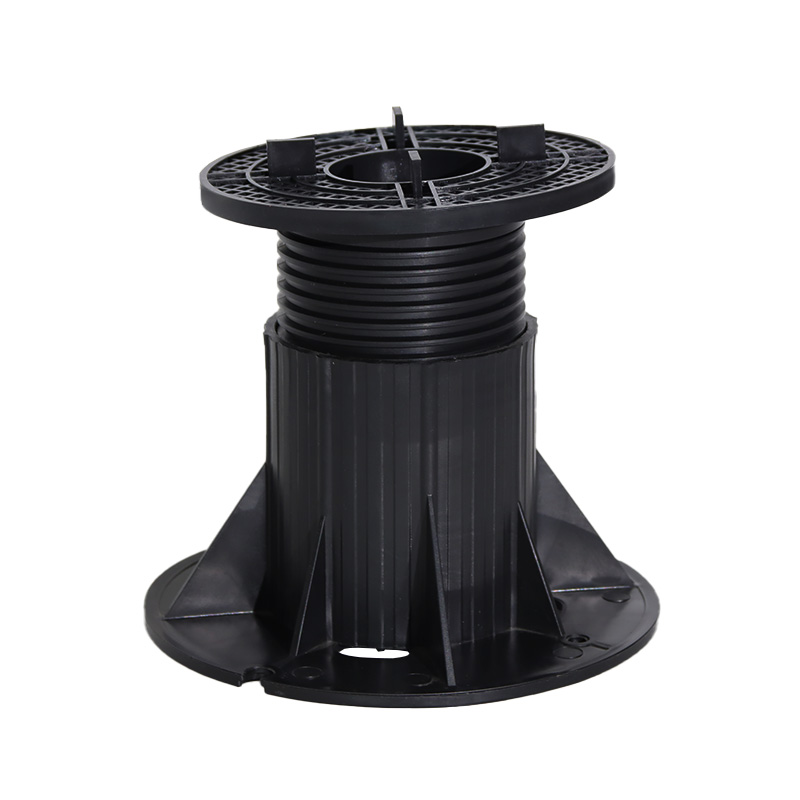
TA-V Series
- Height Range : 52-225mm
- Bearing Weight : 600~900KG
- Base Diameter : 200mm
- Head Diameter : 120mm
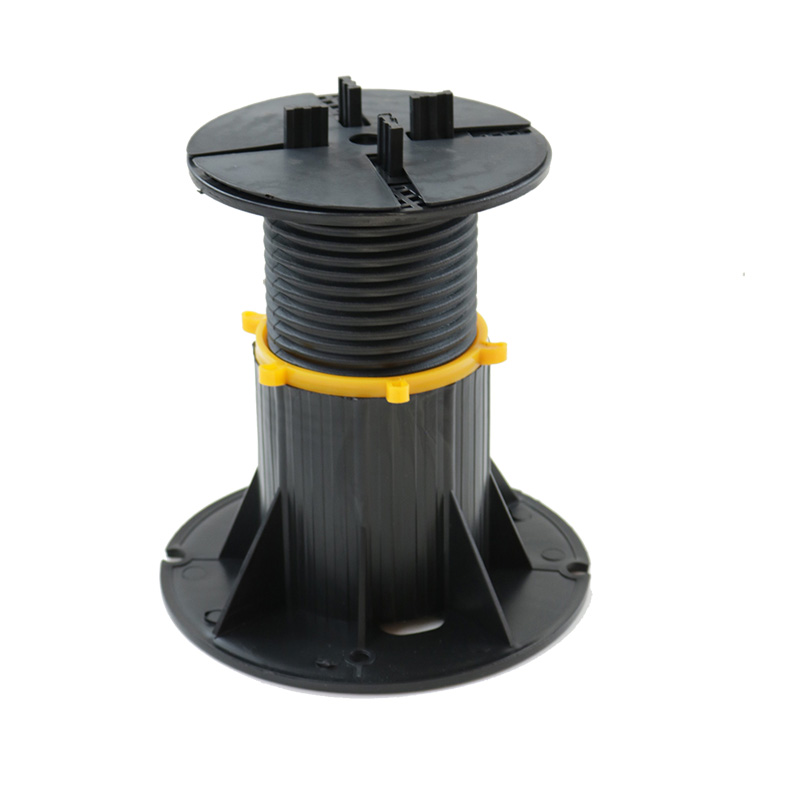
TA-A Series
- Height Range : 46-820mm
- Bearing Weight : 800~1500KG
- Head Diameter : 140mm
- Base Diameter : 200mm
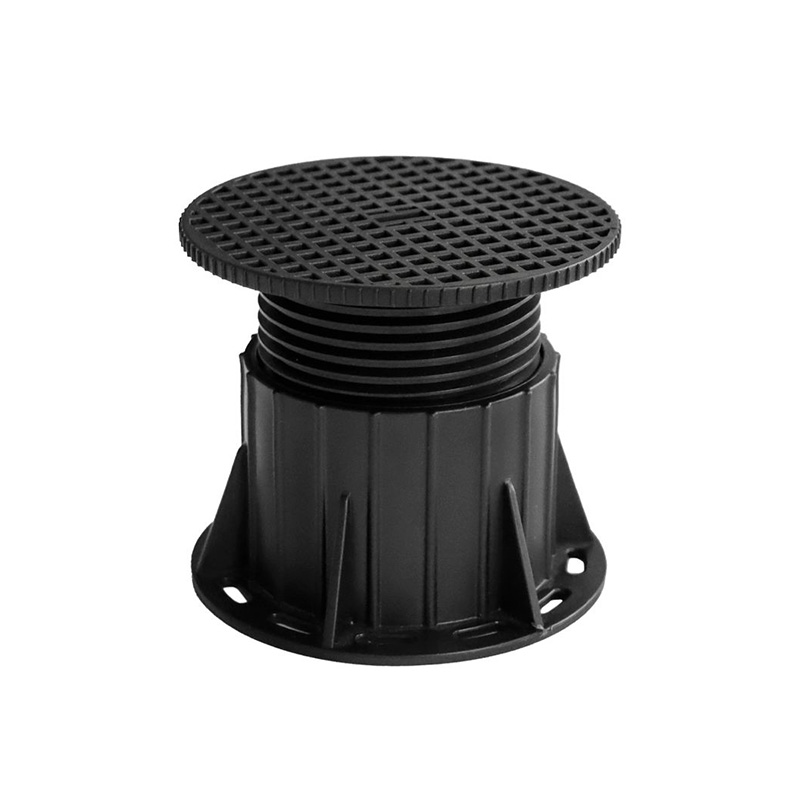
TA-S Series
- Height Range : 20-180mm
- Bearing Weight : 600~900KG
- Base Diameter : 90mm
- Head Diameter : 90mm
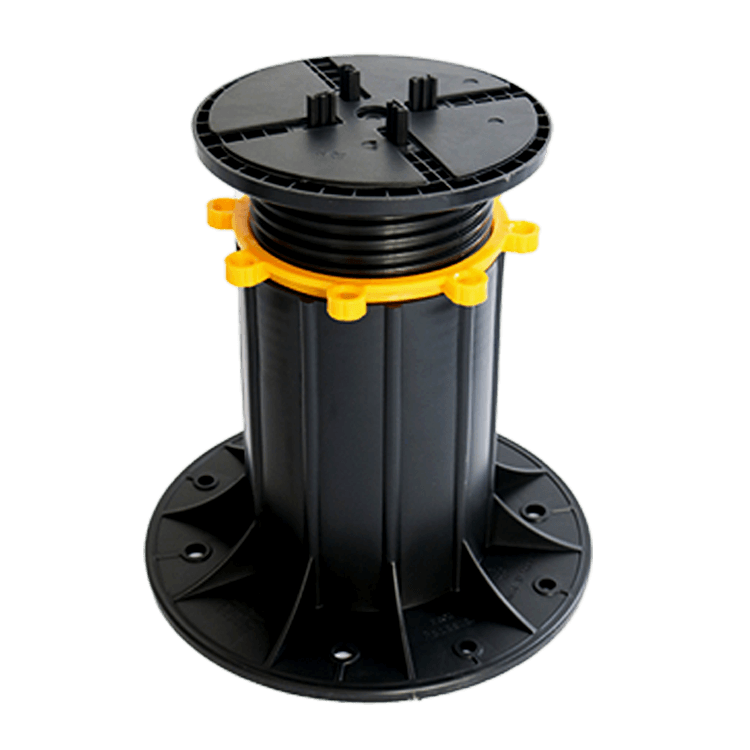
TA-T Series
- Height Range : 180-1360mm
- Bearing Weight : 1200~2500KG
- Base Diameter : 220mm
- Head Diameter : 150mm
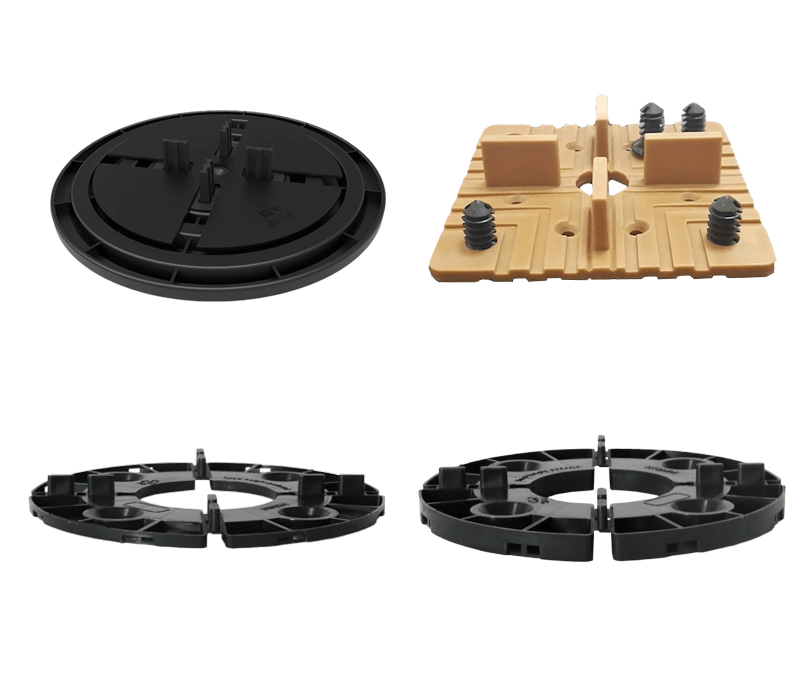
Fixed height pedestal
- Height Range : 5/10mm
- Bearing Weight : 3000KG
- Base Diameter : 150mm/200mm
General Component of Paving Pedestals
Taurus has always been adhering to the tenet of "technology-led, quality-first, and people-oriented".

Spacer Tabs
The spacers mainly used to leave seams on the stone to allow quick drainage on the stone surface.Available sizes are 2mm, 3mm, 4mm, 5mm, 8mm, 10mm.
Shim
The shim is made of rubber, thickness 1.8mm, diameter 14CM. Its main function is to increase the friction between the stone and the supporter, adjust the uneven thickness of the stone, and reduce the noise of the floor after installation.
Rubber Pad
The Anti-pad is made of rubber, thickness 4.2mm, diameter 210mm. Placed on the bottom of the supporter, its function is to prevent sliding, reduce vibration and noise.
Slope Corrector
The slope is suitable for a base diameter of 200mm, and the slope can be adjusted from 0% to 5% by turning the slope plate.
Vertical Closure Clips
This accessory is made of stainless steel clips and is placed at the top and bottom of the support column. It effectively prevents sliding on the plane caused by natural wind or human factors.
Stainless Steel Perimeter Spacer
A wall spacer that absorbs shock. Constructed completely from stainless steel, the Stainless Steel Perimeter Spacer is engineered to create space between a raised floor and the walls of a building.
Adjustment Key
The material of this tool is made of iron , It is used for adjusting the height of TA-V self leveling pedestal.
Metal tile spacers
Spacer tabs thickness: 4mmApplication Areas
Adjustable paving pedestals are widely used in various applications
Outdoor Plazas and Courtyards
Used to create level surfaces with pavers in large public or commercial spaces.Roof Gardens and Terraces
Supports pavers for creating green roofs or outdoor living areas on rooftops.Walkways and Pathways
Provides stable, level pathways in gardens, parks, and commercial complexes.Balconies and Patios
Elevates pavers to create aesthetically pleasing and functional outdoor areas.Pool Surrounds
Ensures a level surface around pools with appropriate drainage.These pedestals are ideal for any project requiring a stable, adjustable, and elevated platform.
How to install adjustable paving pedestals step-by-step?
Transform your outdoor space with ease using our paving pedestals. Follow these simple installation steps to elevate your project to new heights.
Step 1: Preparation
First, determine the height of the paving pedestal by subtracting the thickness of the stone from the platform's overhead height. Next, calculate the number of pedestals needed, with a spacing of 300-400mm between each pedestal, taking into consideration the size of your stone.
Step 2: Assemble the Pedestals
Follow JNZ's assembly guide video to assemble the various components of the pedestal. Adjust the pedestal to the desired height and lock it in place with the reverse locking ring.
Step 3: Set up the Grid
To ensure a smooth installation process, we recommend setting up a grid in the installation area and placing the assembled pedestals in their designated locations according to the grid.
Step 4: Lay and Fix the Stone
Lay the stone on top of the pedestals and use Vertical Closure Clips to secure the stone to the pedestal. Use a level to ensure that the surface is level throughout the installation process.
In conclusion, the installation of adjustable paving pedestals is a straightforward process that requires careful preparation and attention to detail. By following these steps, you can create a stable and level surface for your outdoor space that will last for years to come.
Paving Pedestal Case Studies
Garden landscape, roof garden, various wooden platform overhead, square, indoor decoration, balcony/terrace decoration, booth construction, fountain waterscape.
How to Calculate Pedestals for Paving Systems?
Follow our Online Pedestal Calculator to calculate the number of pedestals needed for your paving project. From surface area measurements to spacing recommendations, ensure a flawless and efficient installation.
Frequently Asked Questions (FAQ)
Ready to Take Your Project with Our Paving Pedestal System?
Let's elevate your project to new heights together! Partner with us to continuously explore new possibilities and make your project stand out in the fiercely competitive market.
Is the Paving Pedestal Systems not the right fit for your project?
Explore our Decking Pedestal Systems — it might be just what you're looking for.


